Post by customcreator on Jan 14, 2009 9:36:40 GMT -5
Sick of trying to find good spots in my basement to take shots of my Sigma customs, I figured I'd whip up a quick warehouse corner for taking pics. Should also work with ML customs and others.
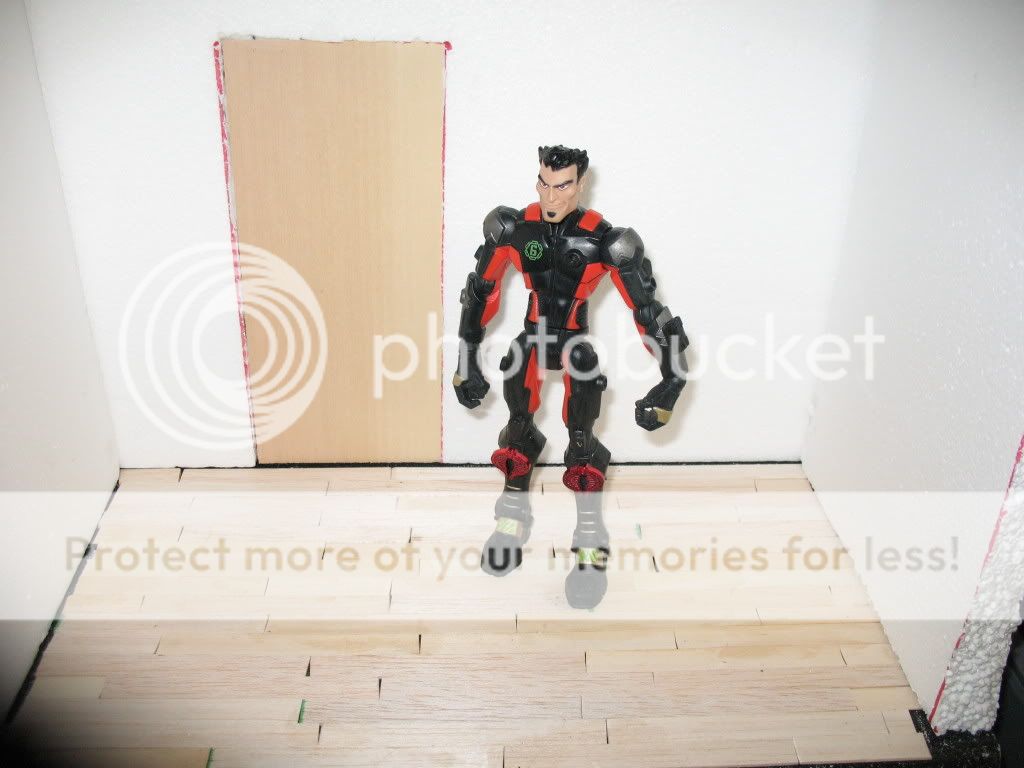
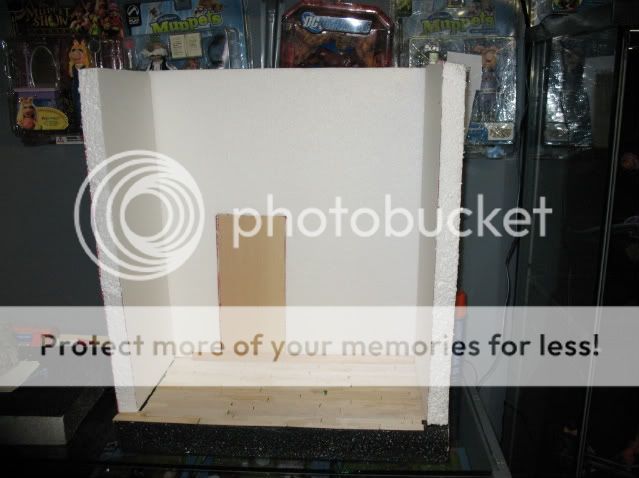
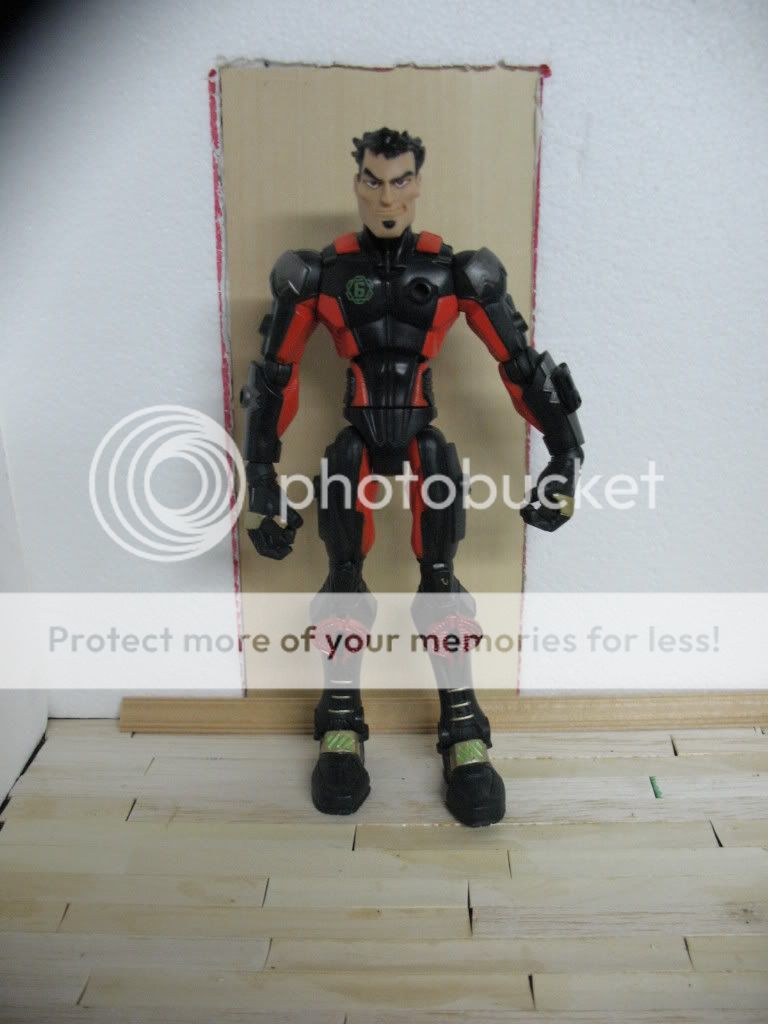
Early shots here, got the walls mocked up along with the door(non functioning) and laid down the dreaded wooden floor. Still need to weather/stain the floor. All rough edges will be trimed out(as you can see) the door will also have trim. Stay tuned!
Bear in mind, this is supposed to be an old warehouse floor, so I didn't mind some of the gaps between the wood. Some of what looks like gaps are actually colored ends from the hobby shops color coding for price.


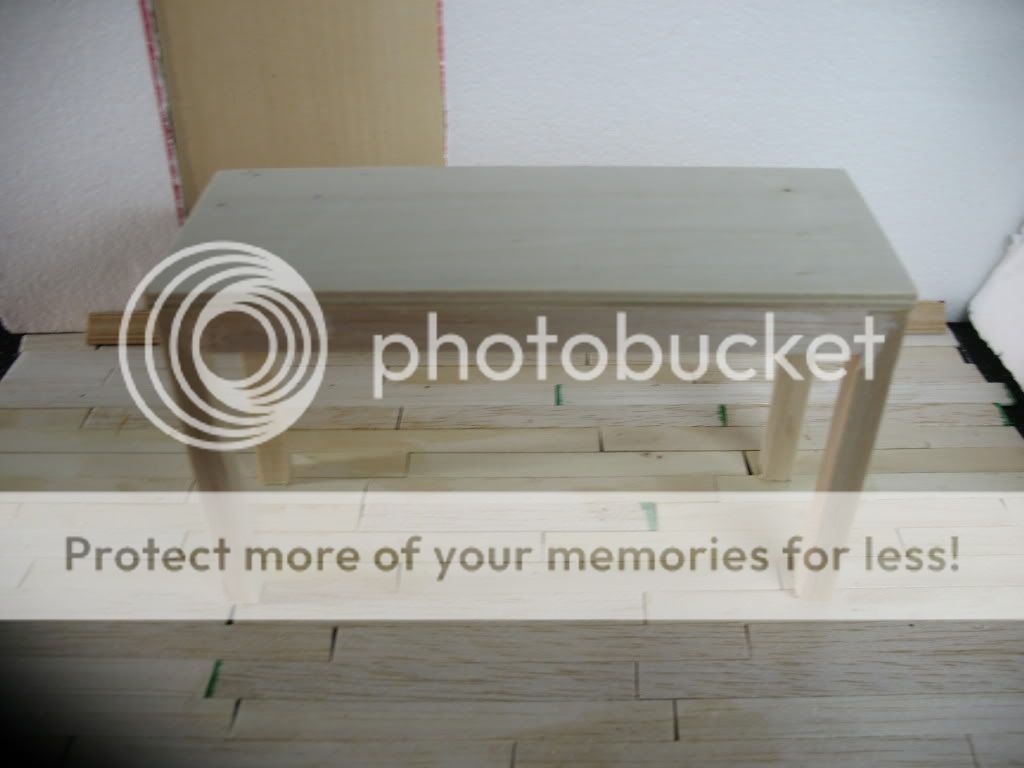
Here is a table I scratched built tonight
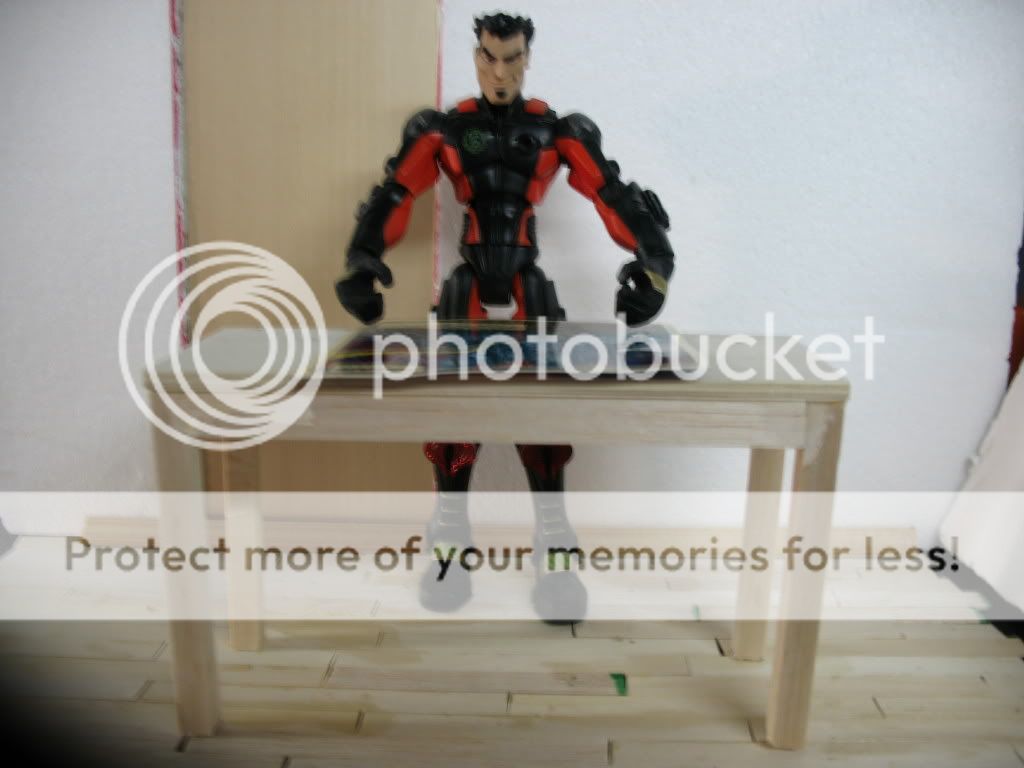
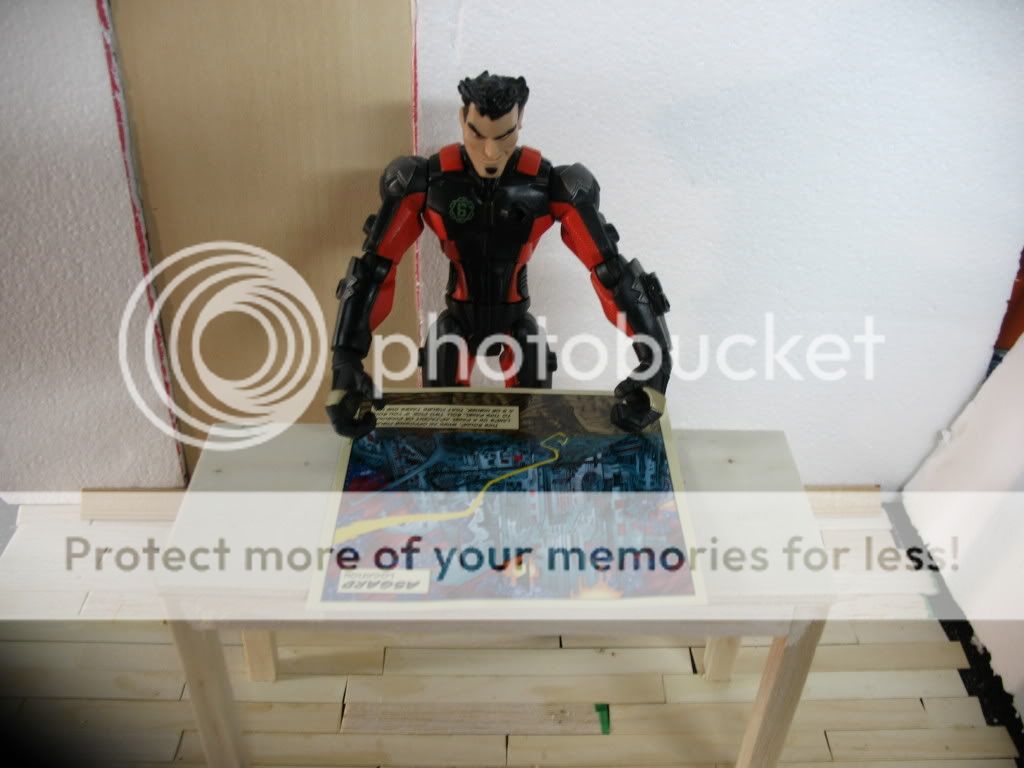
Alright, let's see what we have here
Some little updates here.
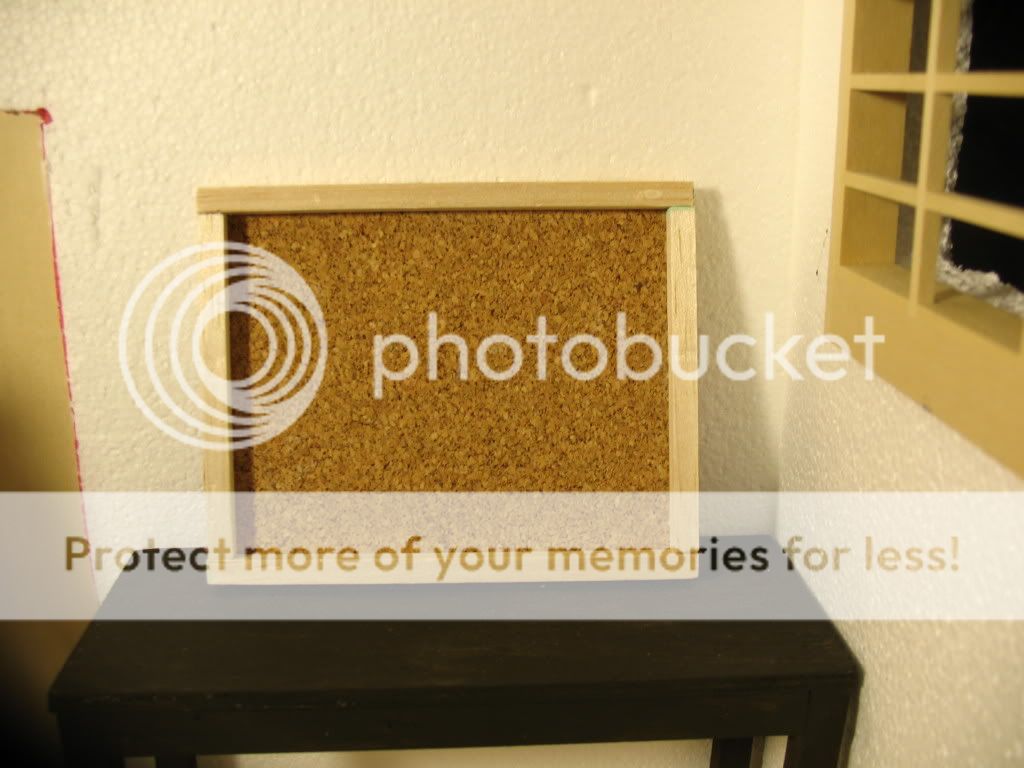
Made a bulletin board out of some craft cork and wood(obviously). Wood will be painted and maps and such will be printed out and tacked up.
Don't mind my ape hand...lol Showing where it will be adhered to the wall

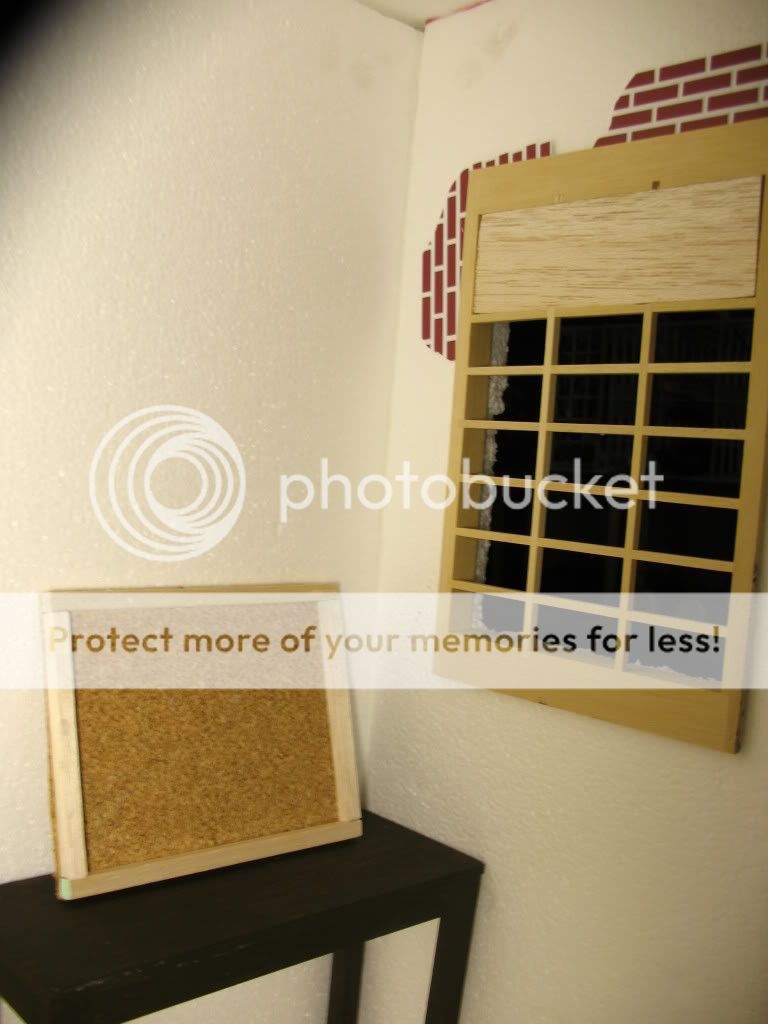
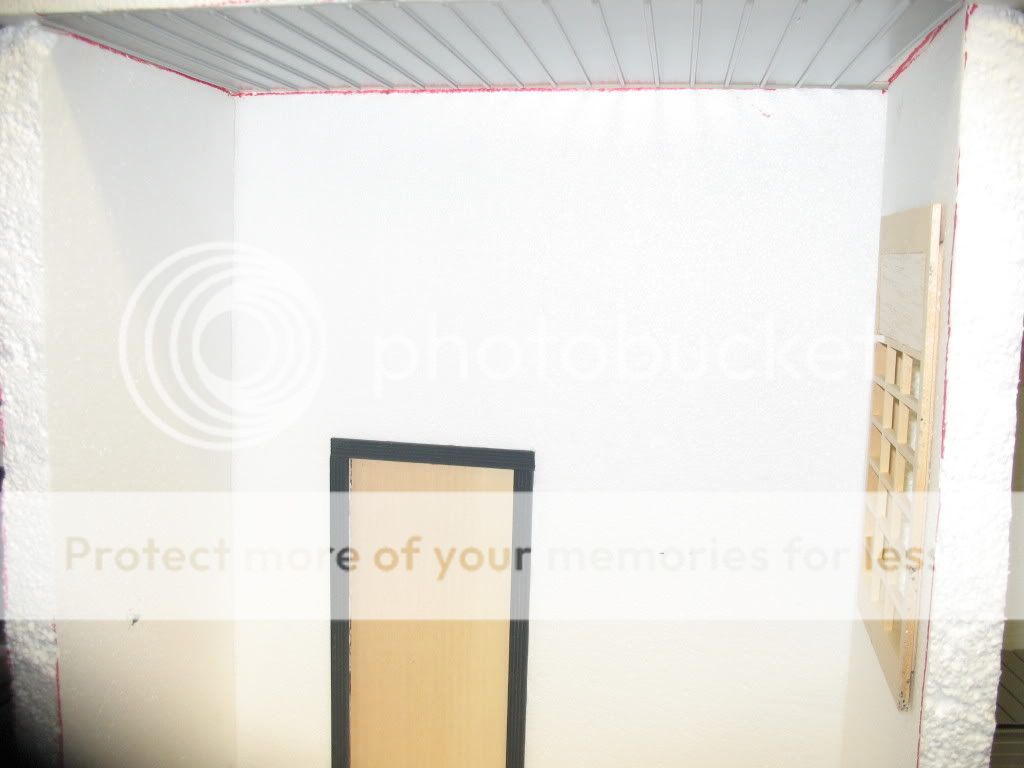
Put in a window. I will add a "frosted" piece of plastic to the back so it's not see-through. The top half was broken, so I added a piece of wood. Searching for some TEENY fans to put in, mimicking vent fans. Also started messing with exposed brick. The walls will be fake "stucco" with brick showing. The left side brick is the wrong way, I know.


Enjoy! I have worked on the ceiling, but waiting for supplies to arrive.
The trim looks black in the pics, but it's a dark gray

Ceiling shot:
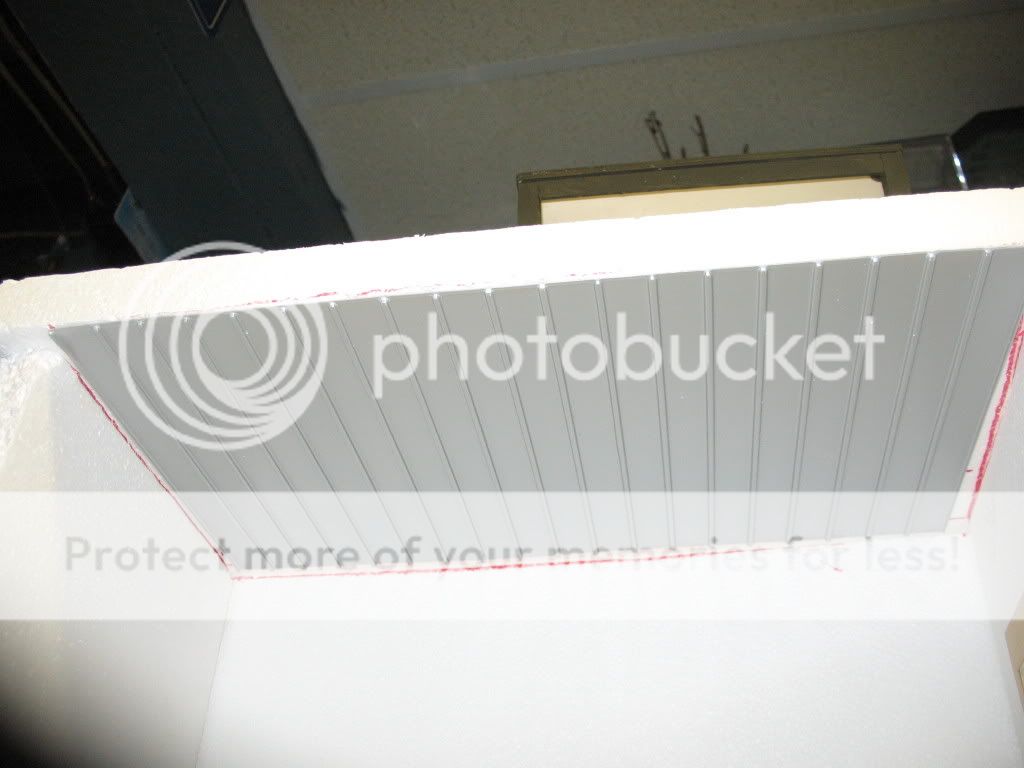
Trim/ceiling shot.

I will use either clear acrylic rod, or the dowel you see here to support a few weapons. Nothing big, but just enough detail

Small update here. Painted the door(will weather and add accessories) and started placing where I want exposed brick. I will be covering the walls with "snow" mortar that looks like concrete and is paintable. Also painted and affixed the cork board. Enjoy!

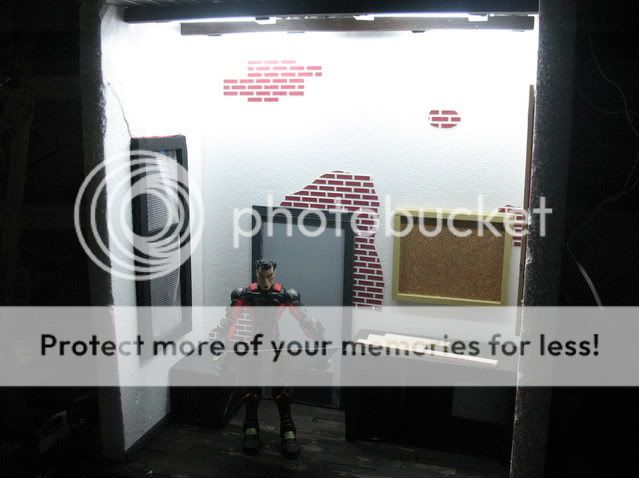
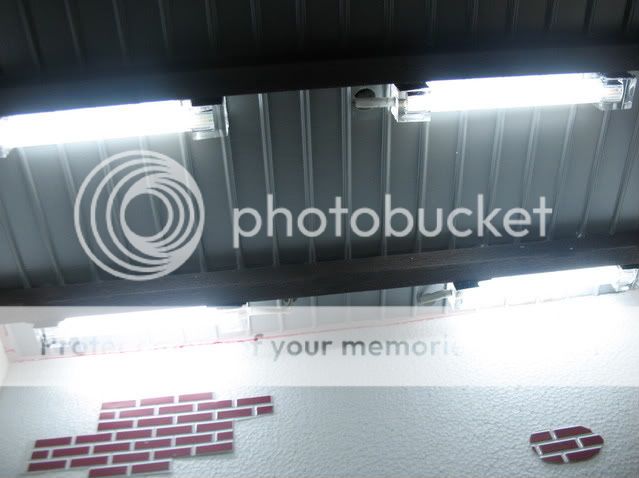
I used 4 cold cathode lights for the rafters, gives enough light. Please note that all pictures were taken in the dark corner of my workspace with only the lights of the dio lighting it up. No flash on the inside shots.

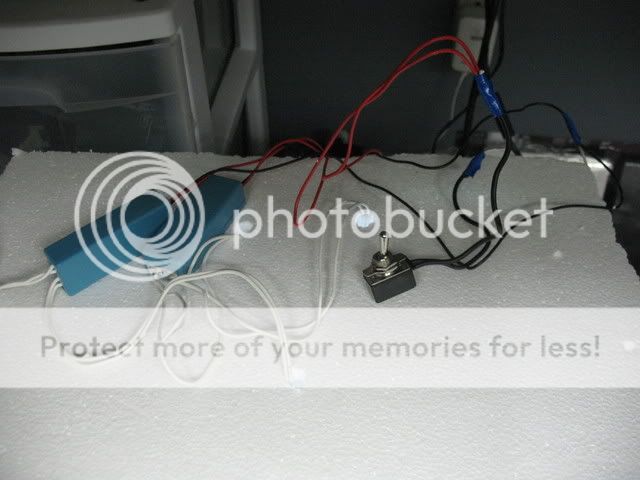
The wiring for the weapons case(behind it) Glued battery pack to wood and added a switch

Main shot with Cold Cathodes
Cathodes themselves
Wiring for cathodes which I will clean up and mount the transformers and toggle switch....getting there!
Early shots here, got the walls mocked up along with the door(non functioning) and laid down the dreaded wooden floor. Still need to weather/stain the floor. All rough edges will be trimed out(as you can see) the door will also have trim. Stay tuned!
Bear in mind, this is supposed to be an old warehouse floor, so I didn't mind some of the gaps between the wood. Some of what looks like gaps are actually colored ends from the hobby shops color coding for price.
Here is a table I scratched built tonight
Alright, let's see what we have here
Some little updates here.
Made a bulletin board out of some craft cork and wood(obviously). Wood will be painted and maps and such will be printed out and tacked up.
Don't mind my ape hand...lol Showing where it will be adhered to the wall
Put in a window. I will add a "frosted" piece of plastic to the back so it's not see-through. The top half was broken, so I added a piece of wood. Searching for some TEENY fans to put in, mimicking vent fans. Also started messing with exposed brick. The walls will be fake "stucco" with brick showing. The left side brick is the wrong way, I know.
Enjoy! I have worked on the ceiling, but waiting for supplies to arrive.
The trim looks black in the pics, but it's a dark gray
Ceiling shot:
Trim/ceiling shot.
I will use either clear acrylic rod, or the dowel you see here to support a few weapons. Nothing big, but just enough detail
Small update here. Painted the door(will weather and add accessories) and started placing where I want exposed brick. I will be covering the walls with "snow" mortar that looks like concrete and is paintable. Also painted and affixed the cork board. Enjoy!
I used 4 cold cathode lights for the rafters, gives enough light. Please note that all pictures were taken in the dark corner of my workspace with only the lights of the dio lighting it up. No flash on the inside shots.
The wiring for the weapons case(behind it) Glued battery pack to wood and added a switch
Main shot with Cold Cathodes
Cathodes themselves
Wiring for cathodes which I will clean up and mount the transformers and toggle switch....getting there!


